Decoding pictures from Nasa, part 2 - 03/02/21
Back to Main PageFollowing on from the last part, I decided to start looking at other missions on the PDS node. One that seemed interesting was Voyager. Voyager has the Imaging Science System (ISS), which is a black and white camera with 2 sets of filters that can be applied, ranging from a 280nm UV filter to a 624nm Methane filter, as well as the option for no filter.
I hoped that the images were also filtered like that, as I could assemble them into a full colour image. As it turns out, the images has the data embedded inside them, in a preamble section known as VICAR data. I could extract the various lens indexes using a regex, and colour the images accordingly.
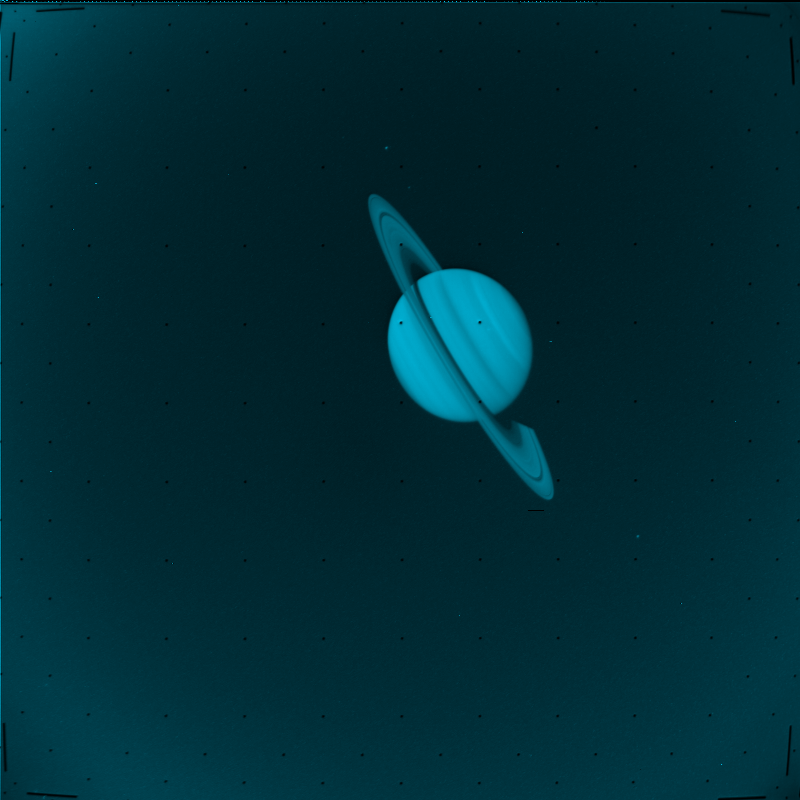
This is an example of VICAR data from a cassini image. Highlighted is the settings of the two colour wheels, both currently set to clear (no filter)

As soon as I had that, my code started spewing out lovely single-colour images, like these:
Now that I had these, I could also combine them together in GIMP to make full-colour images, like this (brightness has been adjusted slightly to show more detail):
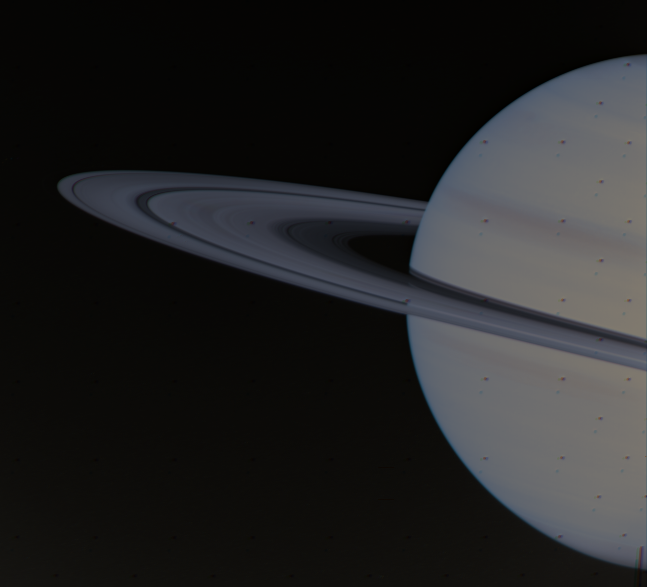
This also worked pretty well for Cassini:
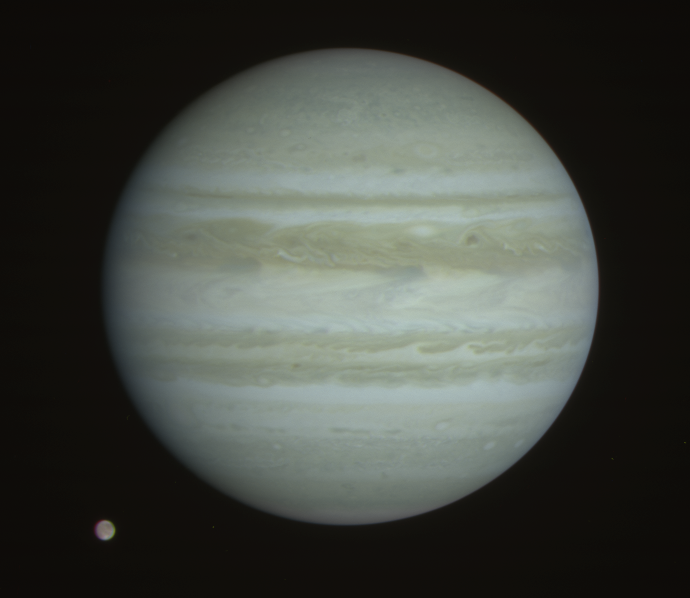
As far as I can tell, the moon in the bottom left of this picture is Europa, and its movement between the frames being taken shows movement over time. As all the colour bands are taken sequentially, both the probe and the moon itself will move around, resulting in different colour bands being in slightly different positions. If the trajectory of the probe is known, this could be used to give a rough estimate of the speed of an orbital body.