Decoding pictures from Nasa, part 1 - 17/01/21
Back to Main PageThis is a writeup of a project that I did over the summer holidays (July 2020), but neglected to write about until now. I was watching youtube (It seems a lot of my projects start this way), when I saw a video of the descent of the mars rover Curiosity. It showed the view from the MARDI camera, which was placed on the front left corner of the rover.
From wikipedia: "MARDI took color images at 1600×1200 pixels with a 1.3-millisecond exposure time starting at distances of about 3.7 km (2.3 mi) to near 5 m (16 ft) from the ground, at a rate of four frames per second for about two minutes". I found this really cool, and wondered where I could find the raw pictures. NASA is a public organisation, so all their data should be free to access, right?
After some sleuthing around, I came upon this site, which seemed to have raw images, but when I looked through the various data samples, I could only find files in .IMG format, which didn't sound like a standard format. This sounded like a challenge, which I decided to take on.
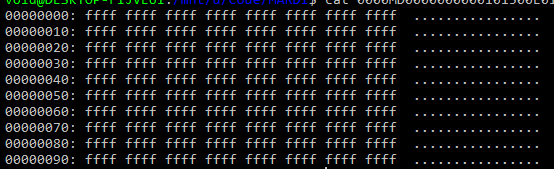
Picking a random image, I first ran the linux file command on it. file checks if the first few bytes of a file match known file signatures, as this is what is normally used to determine what a file is. However, it came back and told me it was just data in an unrecognised format. This was a slight pain, as I was somewhat hoping that they were just renamed PNGs or similar. The next step was to run xxd on the file, to see what the hex dump looked like.
The results were interesting, showing all FF at the start of the file.
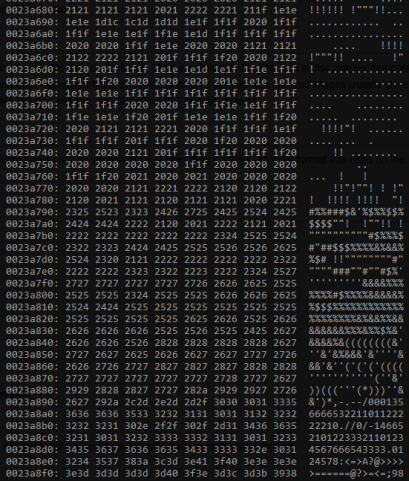
However, scrolling down a bit was more illuminating, somewhat literally.
To understand why this was useful, let's compare it with the hexdump of a PNG.
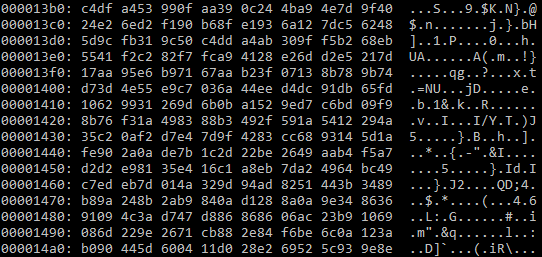
The hexdump is very noisy, with all sort of random bytes everywhere, but looking back at the unknown file, it's mainly made of similar-ish blobs, varying smoothly. This told me that it was almost certainly just a dump of brightness values, and also that it almost certainly wasnt encrypted or compressed, since those kinds of files are much noisier (in terchnical terms, they have a "higher entropy"), which was a huge relief. I threw together a quick script to test that hypothesis, and got this:
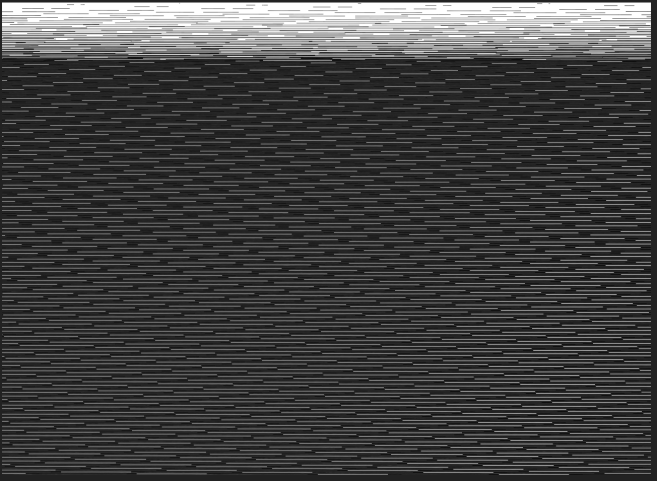
This is surprisingly close to a correct image. There is structure in it, however the row size is simply set much too low, as I just guessed at resolution values, causing it to wrap around repeatedly. I worked out the correct size by simply choosing another larger width, re-decoding, and counting the gaps between the white stripes.
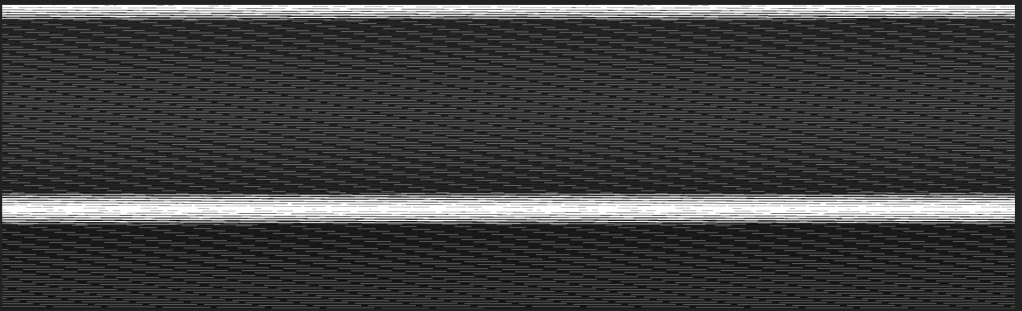
After counting the pixels in GIMP, and fine-tuning it a little bit, I got my first image from NASA:

This told me a few more things: 1, I was probably downloading the wrong files, since I was guessing about a lot of the acronyms on the website. 2, The vertical size was still too low, however I could quickly add in some code to calculate the correct height automatically, and 3, This was a black and white image, which was odd, since the pictures I'd seen were in full colour.
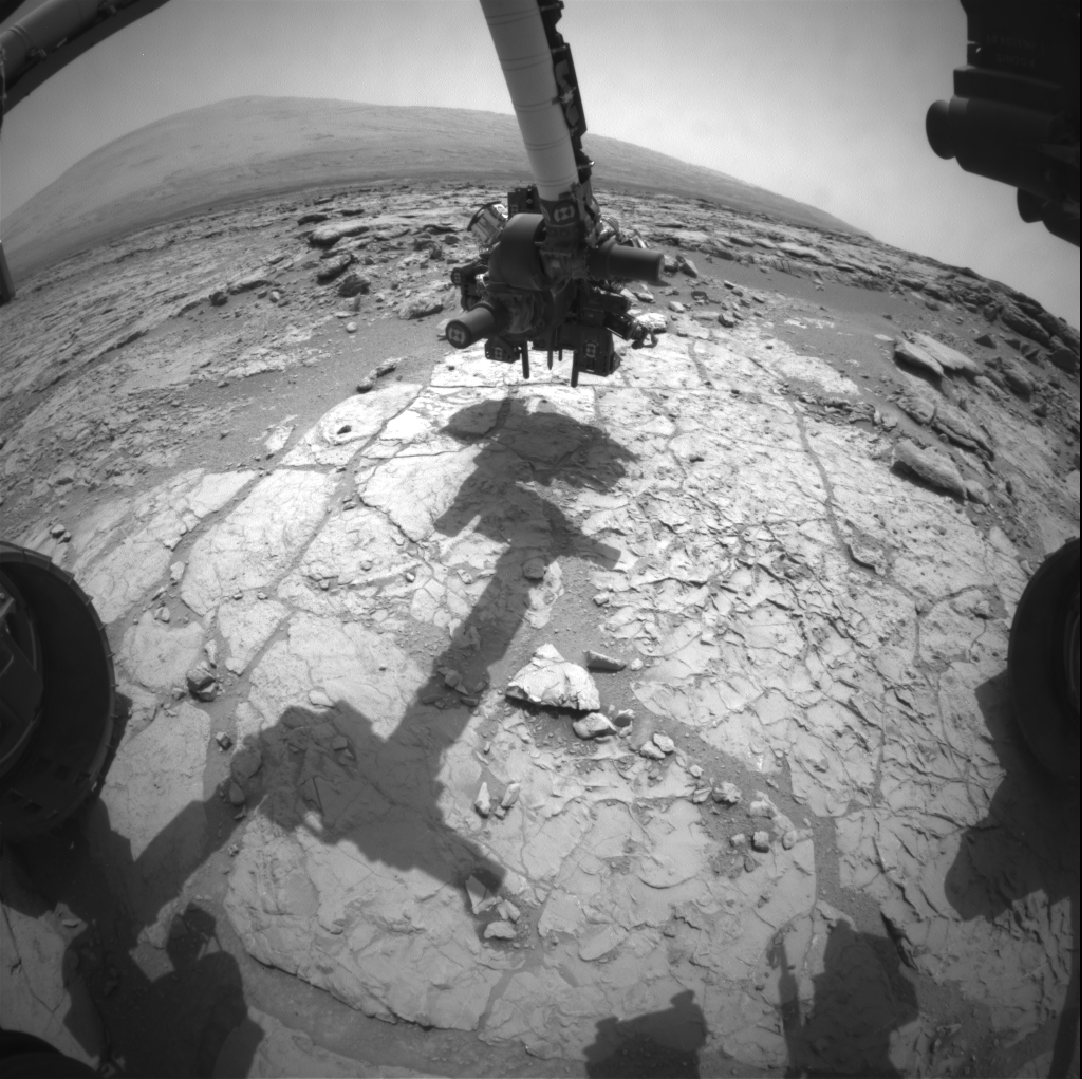
I kept going regardless, because I wanted to test a hunch, and decoded again with the correct height, and got this:

Now I knew how they were storing the colours. Each frame was repeated 3 times, in the three different bands (Red, Green and Blue), and I just needed to colour them accordingly and merge them into one frame. I did this, and switched the image to the proper images without the fisheye corection, and started to get some lovely pictures of mars.

After doing all of this, I looked at the accompanying LBL files to see what was in them, and became slightly annoyed when I saw that the encoding method and resolution was in them, as well as a load of other telemetry data. I tried to use it to add an altimeter to the video of the descent, but I could never get it to work correctly, sadly.
Now that my appetite was whetted, I decided to start looking at the other cameras on Curiosity. Some that seemed interesting were the hazard avoidance cameras. These are four cameras on the rover, one in each corner, that are used for avoiding obstacles. I had to modify the code slightly, but I ended up getting some nice images there too.
These were nice images, but there was something I really wanted to try. Since the hazcams were stereo cameras, I could make stereo images from them. I had a google cardboard, which would be perfect for displaying them, since I just had to put the two frames next to each other.
I wrote a quick program to grab both the left and right images, decode them, and put them next to each other, to get images like this:
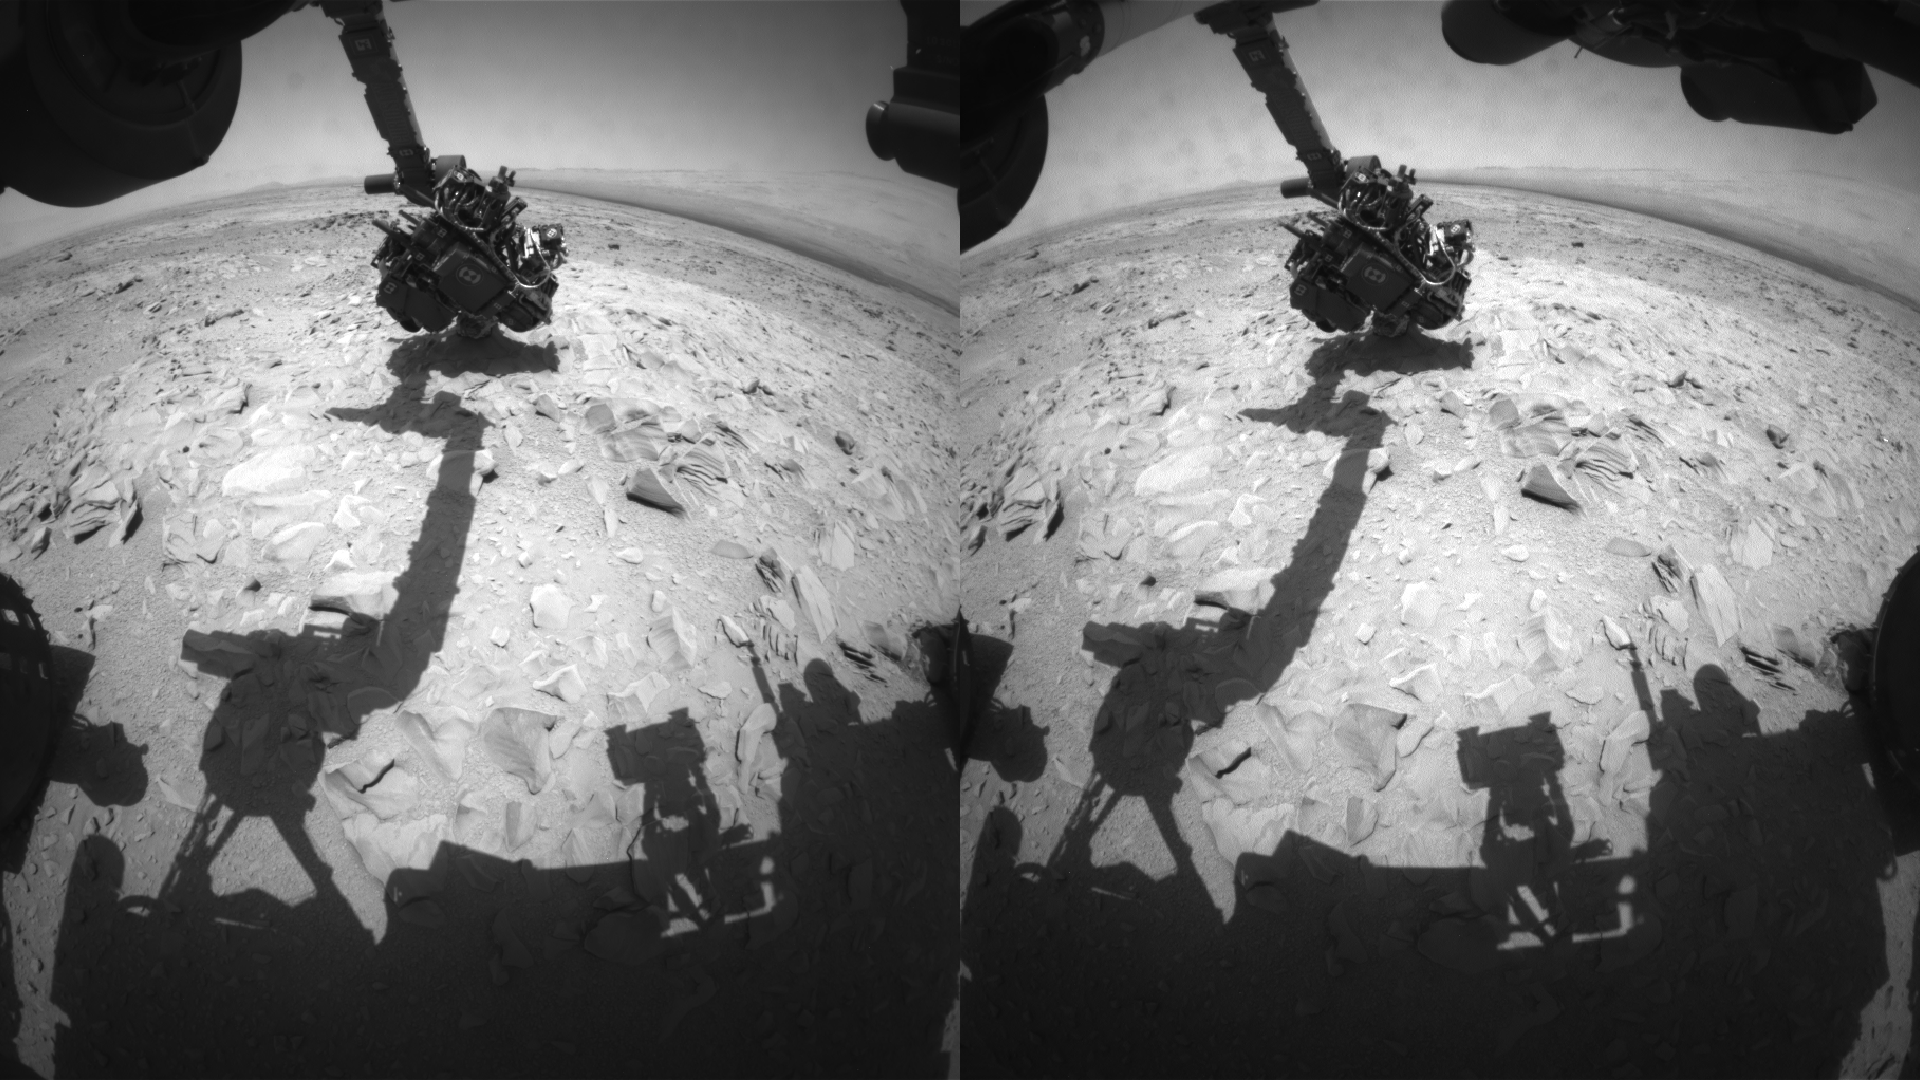
These look amazing when viewed properly, such as on a google cardboard, or by using a program like sView for vr headsets, and I'll include a download of a few of them here.
I experimented a little with the mast camera images as well, but could never get them to work properly. However, there is still a lot of data on that site to try and decode. Next stop, Voyager.